
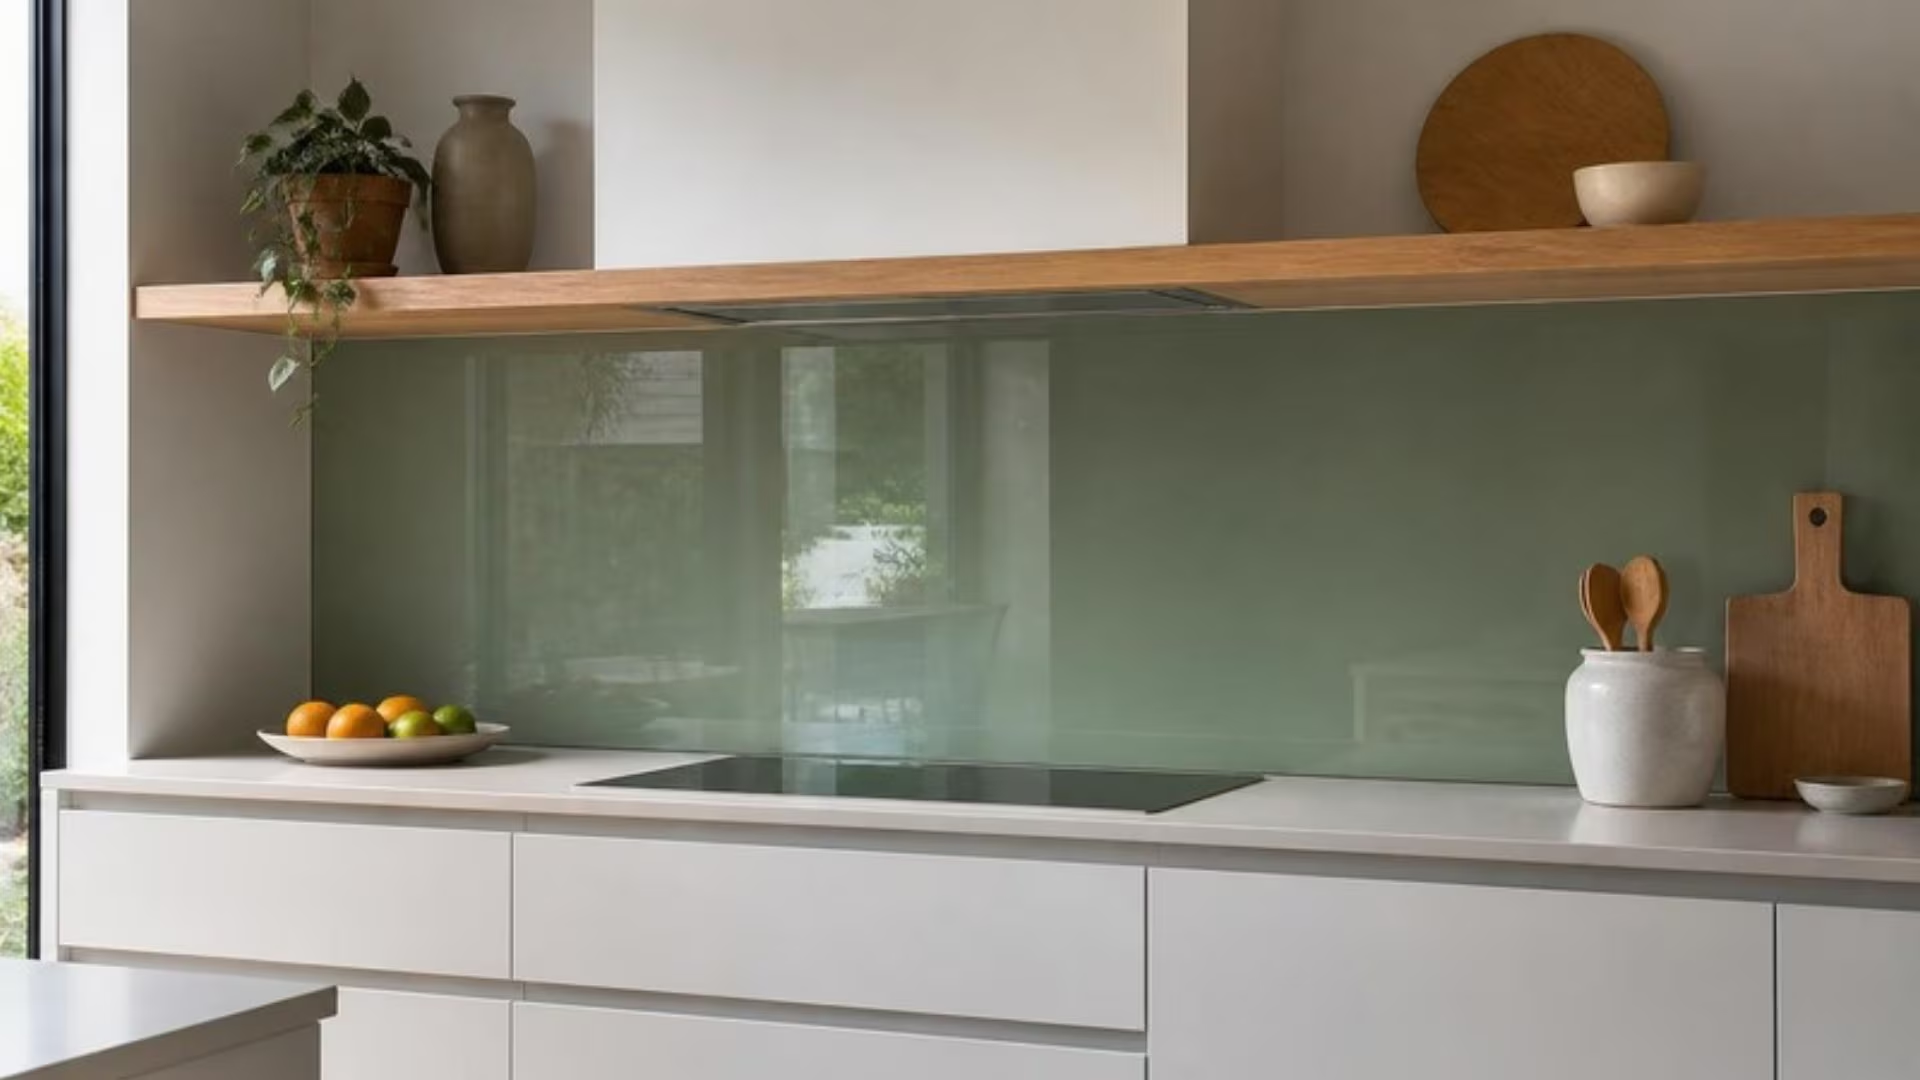
Glass splashbacks
Colour-backed toughened glass, templated to your kitchen after the worktops go in and cut around every socket.
What is a glass splashback?
A glass splashback is a panel of toughened glass, painted on the back in your chosen colour, that is fixed to the wall behind a hob, sink or worktop. It protects the wall from heat, grease and splashes, and wipes clean in seconds. With no grout lines, it looks like one seamless sheet of colour, which is why so many kitchens now have one instead of tiles.
Glass splashbacks at a glance
- Glass: 6 mm toughened, low-iron for true colours
- Colour: Any RAL colour, or matched to your paint or cabinet sample
- Cut-outs: Sockets, switches and extractor fittings, made before toughening
- Edges: Flat polished, with radius corners on request
- Fixing: Bonded to the wall with paint-safe adhesive
- Behind hobs: Toughened glass handles kitchen heat. Follow the hob maker’s clearances
Why low-iron glass makes a difference
Ordinary clear glass has a slight green tint. You barely notice it in a window, but it changes colours painted on the back: whites go minty and pale blues go greenish. Low-iron glass has most of that tint removed, so the colour you choose is the colour you get. For whites, creams and pastels it’s essential. For very dark colours, standard glass can be fine, and we’ll tell you honestly if it is.
How we template, make and fit splashbacks
- Template after the worktops. We measure or template once the worktops and units are fitted, never from the kitchen plan. Worktops are rarely exactly where the drawing says.
- Mark every cut-out. We mark sockets, switches and any extractor or rail fixings on the template, because they must be cut before the glass is toughened.
- Make. The glass is cut, edged and drilled, toughened, then back-painted in your colour.
- Fit. We bond the panels to the wall with an adhesive that won’t attack the paint, set gaps for expansion, and seal the joint to the worktop.
Choosing a glass splashback
Colour. Bold colours look striking behind a hob. Neutral greys and whites age better if you change the kitchen around them later. Ask us for a painted sample against your worktop before you commit.
One piece or several? Long runs are split at sensible points, such as a corner, the edge of the hob or the end of a run. We’ll show you where the joints fall before anything is made.
Mirror or glass? Antique and tinted mirror splashbacks look great behind a sink or a bar. Next to a hob, though, stick with painted toughened glass, because mirror backing doesn’t like heat.
Sockets. Moving a socket after the glass is made means a new panel, so finalise the electrics first.
Glass splashback ideas
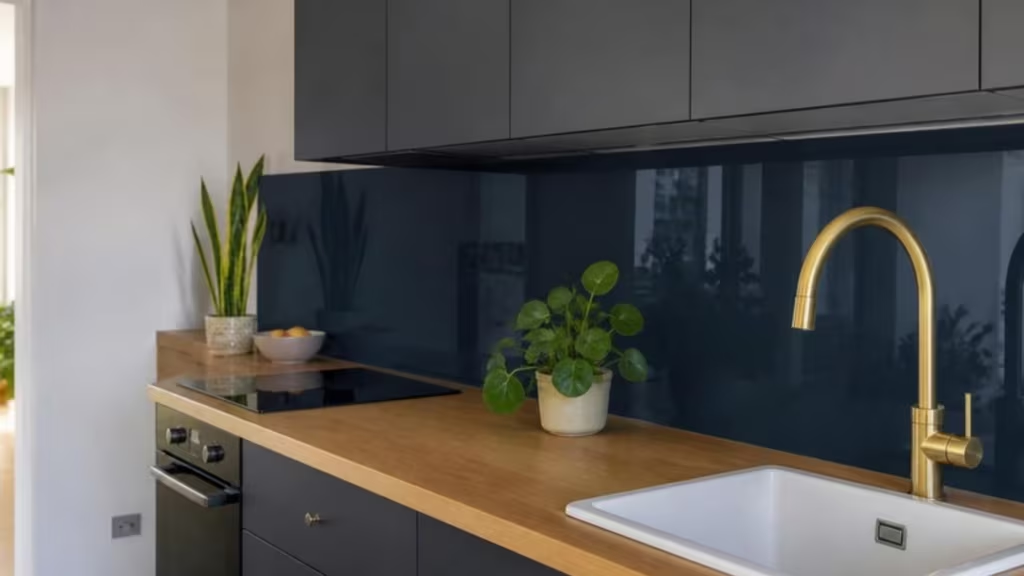
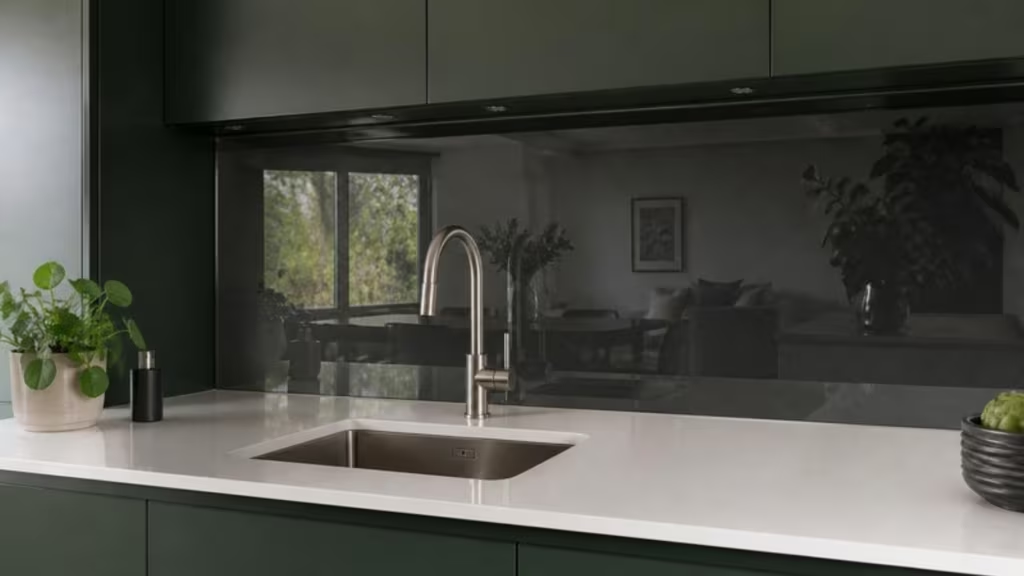
These are illustrations of design ideas, not photos of specific Brega Glazing jobs. See more in our ideas gallery.
Typical uses for glass splashbacks
- Behind hobs and cookers
- Full-height runs behind kitchen worktops
- Utility rooms and bars
- Bathroom vanities and wet areas, as an alternative to tiles
Glass splashback FAQs
Can a glass splashback go behind a gas or induction hob?
Yes, as long as it’s toughened glass, which is designed to handle kitchen heat. Always keep to the hob manufacturer’s minimum clearance to the wall, especially for gas burners.
How are glass splashbacks fixed to the wall?
They’re bonded with an adhesive that’s compatible with the paint on the back of the glass, then sealed along the worktop. The wall needs to be flat, dry and sound. Freshly plastered walls must be fully dry first.
Can you match a specific paint colour?
Yes. We can paint to any RAL colour, or match a paint chart, cabinet door or sample you give us. Low-iron glass keeps the match accurate.
When should a glass splashback be measured?
After the worktops and units are fitted. Measuring from plans is risky, because a few millimetres’ difference can mean a panel that doesn’t fit.
How do I clean a glass splashback?
Wipe it with a soft cloth and warm soapy water or glass cleaner. Avoid scouring pads and scrapers. The surface is smooth and non-porous, so grease comes off easily.